PREGNANCY & POSTPARTUM-FRIENDLY
Pregnant (and postpartum) bodies are not weak!
PREGNANCY: If you’re experiencing an otherwise healthy pregnancy, these workouts are suitable for every stage of pregnancy.
POSTPARTUM: If you've been cleared for exercise and are not experiencing any symptoms of pelvic floor dysfunction, these workouts are suitable for 6+ weeks postpartum.
As a reminder, these workouts are not intended to treat, diagnose, cure or prevent any medical condition. You should seek prompt medical care for any specific health concerns and consult your physician before starting any new program.
-
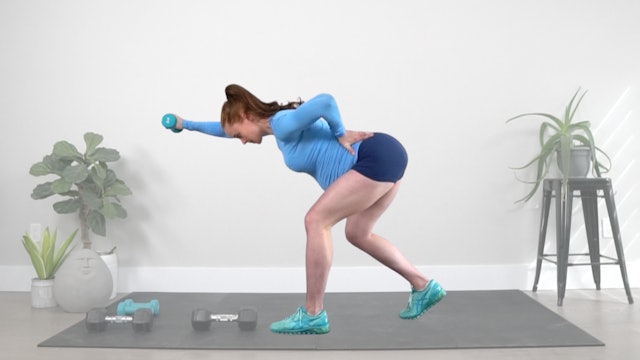
Functional Core For Low Back Pain
19m | Intermediate
Works Well For:
Strength Training | Abs & Core | Pelvic Floor | Stability & BalanceEquipment Needed:
Light dumbbells (5-10 lbs), Heavy dumbbells (15-30 lbs), Team Bands (optional) -
Knee-Friendly Intensity
22m | Beginner
Works Well For:
Endurance | Speed & Agility | Fat Burning | Weight LossEquipment Needed:
Team Bands (optional) -
Full Body Burn
23m | Intermediate
Works Well For:
Muscle Building | Fat Burning | Metabolic Conditioning | Endurance | Abs & CoreEquipment Needed:
Light dumbbells (5-10 lbs), Heavy dumbbells (15-30 lbs), Team Bands (optional) -
Cardio Countdown
26m | Beginner to Intermediate
Works Well For:
Endurance | Speed & Agility | Fat Burning | Weight LossEquipment Needed:
N/A -
Happy Knees Stability
17m | Intermediate
Works Well For:
Abs & Core | Stability & Balance | Hip Stability | Knee StabilityEquipment Needed:
Team Bands (optional) -
Full Body Conditioning
26m | Intermediate
Works Well For:
Metabolic Conditioning | Fat Burning | Endurance | Speed & Agility | Abs & CoreEquipment Needed:
Light dumbbells (5-10 lbs), Heavy dumbbells (15-30 lbs), Team Bands (optional) -
Functional Core
17m | Intermediate
Works Well For:
Abs & Core | Pelvic Floor | Strength Training | Stability & BalanceEquipment Needed:
Light dumbbells (5-10 lbs), Heavy dumbbells (15-30 lbs), Team Bands (optional) -
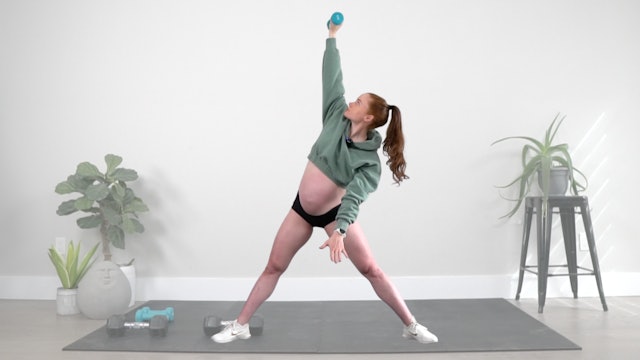
Functional Full Body
33m | Intermediate
Works Well For:
Strength Training | Muscle Building | Stability & BalanceEquipment Needed:
Light dumbbells (5-10 lbs), Heavy dumbbells (15-30 lbs), Team Bands (optional) -
Move Your Body Mobility
21m | Beginner to Intermediate
Works Well For:
Mobility & Flexibility | RecoveryEquipment Needed:
N/A -
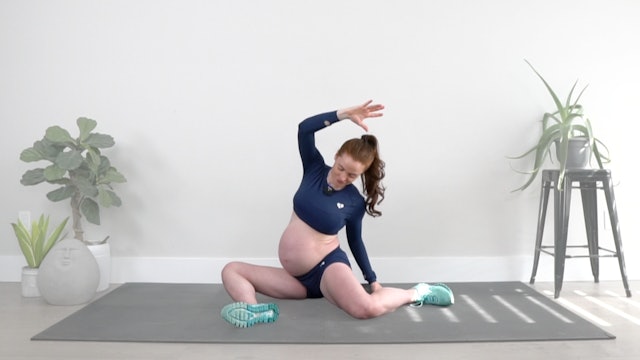
Pelvic Reset Mobility
17m | Beginner
Works Well For:
Mobility & Flexibility | RecoveryEquipment Needed:
N/A -
Feel Good Flow
16m | Beginner
Works Well For:
Mobility & Flexibility | RecoveryEquipment Needed:
N/A -
Cardio Party
22m | Beginner
Works Well For:
Endurance | Speed & Agility | Fat Burning | Weight LossEquipment Needed:
N/A -
Athlete Abs & Booty
18m | Beginner
Works Well For:
Abs & Core | Pelvic Floor | Strength Training | Stability & BalanceEquipment Needed:
Team Bands (optional) -
Full Body Heat
24m | Beginner to Intermediate
Works Well For:
Strength Training | Muscle Building | Fat Burning | Abs & CoreEquipment Needed:
Light dumbbells (5-10 lbs), Heavy dumbbells (15-30 lbs), Team Bands (optional) -
Full Body Strength
27m | Beginner to Intermediate
Works Well For:
Strength Training | Stability & Balance | Abs & CoreEquipment Needed:
Light dumbbells (5-10 lbs), Heavy dumbbells (15-30 lbs), Team Bands (optional) -
Megan Knees Stability
17m | Beginner
Works Well For:
Abs & Core | Stability & Balance | Hip Stability | Knee StabilityEquipment Needed:
Team Bands (optional) -
Full Body Bootcamp
27m | Beginner to Intermediate
Works Well For:
Metabolic Conditioning | Fat Burning | Endurance | Speed & Agility | Abs & CoreEquipment Needed:
Light dumbbells (5-10 lbs), Heavy dumbbells (15-30 lbs), Team Bands (optional) -
Labor Intensity Interval Training MIIT
22m | Beginner to Intermediate
Works Well For:
Abs & Core | Endurance | Speed & Agility | Fat Burning | Weight LossEquipment Needed:
Light dumbbells (5-10 lbs), Heavy dumbbells (15-30 lbs), Team Bands (optional) -
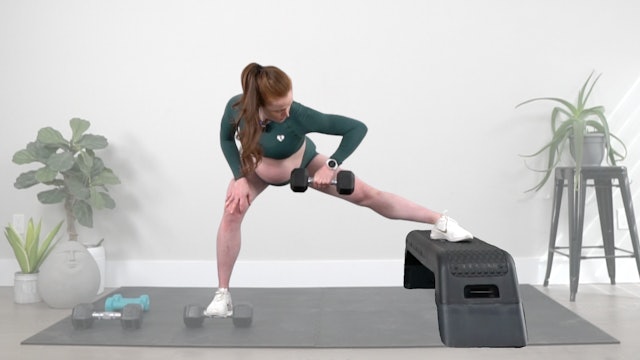
Baby Intensity Interval Training MIIT
28m | Beginner
Works Well For:
Abs & Core | Pelvic Floor | Endurance | Speed & Agility | Mobility & Flexibility | Fat Burning | Weight LossEquipment Needed:
Box -
Pelvic Floor Relaxation & Cooldown Routine
14m | Beginner
Works Well For:
Pelvic Floor | Mobility & FlexibilityEquipment Needed:
N/A -
Functional Strength & Core
21m | Intermediate
Works Well For:
Strength Training | Abs & Core | Pelvic Floor | Stability & BalanceEquipment Needed:
Light dumbbells (5-10 lbs), Heavy dumbbells (15-30 lbs) -
Low Back & Pelvic Mobility Flow
23m | Beginner
Works Well For:
Mobility & Flexibility | RecoveryEquipment Needed:
N/A -
Functional Strength & Stability
25m | Intermediate
Works Well For:
Strength Training | Abs & Core | Pelvic Floor | Stability & BalanceEquipment Needed:
Light dumbbells (5-10 lbs), Heavy dumbbells (15-30 lbs) -
Full Body Strength & Stability
27m | Intermediate
Works Well For:
Strength Training | Abs & Core | Pelvic Floor | Stability & BalanceEquipment Needed:
Light dumbbells (5-10 lbs), Heavy dumbbells (15-30 lbs)